The kitchen stands as the undeniable heart of the American home. It is a place of creation, congregation, and daily life. Yet, for many, this central space falls short of its potential, burdened by outdated cabinets, worn countertops, and inefficient layouts. The dream of a full-scale, high-end renovation often collides with the reality of budget constraints. A figure of $15,000 emerges not as a limit for a luxury overhaul, but as a strategic threshold for a profound and intelligent transformation. This guide dissects the art of the achievable kitchen renovation, providing a detailed roadmap for allocating resources, making calculated design choices, and achieving a result that feels both fresh and financially sound.
We will move beyond generic advice and explore the tangible steps, trade-offs, and opportunities inherent in a mid-range budget. This is not about mimicking a designer showroom; it is about crafting a kitchen that is more functional, beautiful, and aligned with your life, all through a lens of fiscal pragmatism.
The Philosophy of the $15,000 Kitchen
A successful project at this budget level demands a shift in perspective. The goal is not to replicate a $50,000 renovation with cheaper materials. Instead, the focus must be on strategic impact. This involves a clear-eyed assessment of what you can realistically change and what you must work around. The core philosophy rests on three pillars: preservation, prioritization, and preparation.
Preservation means identifying the elements of your existing kitchen that are functionally sound and can be updated rather than replaced. This could include cabinet boxes, the foundational layout of plumbing and electrical, or even appliances that have remaining useful life. Prioritization forces you to decide what matters most. Is it the visual refresh of new surfaces? The enhanced function of better storage? Or the improved workflow of a new appliance configuration? You likely cannot have it all, so you must choose your battles. Preparation is the linchpin. At this budget, there is little room for error or unforeseen expenses. Meticulous planning, from measuring twice to securing quotes in advance, is what separates a stressful money pit from a successful transformation.
The Pre-Renovation Audit: Know What You Have
Before you spend a single dollar, invest your time in a thorough audit of your existing kitchen. This diagnostic phase will reveal your biggest opportunities and your most significant constraints.
Start with the layout. Is the classic “work triangle” between sink, stove, and refrigerator functional, or is it cramped and awkward? Changing the footprint of a kitchen—moving walls or relocating plumbing stacks—is a budget-buster. In most $15,000 scenarios, you will work within the existing layout. Next, assess each component. Open and close every cabinet and drawer. Are the boxes structurally sound? Do the drawers glide smoothly? Test all appliances. An older but functional refrigerator might be kept for another year to free up funds for a countertop you love. Examine the flooring. Is there serviceable hardwood hiding under linoleum that could be refinished? This audit is your reality check and your source of hidden potential.
Strategic Budget Allocation: The $15,000 Blueprint
How you divide your $15,000 is the most critical decision you will make. A haphazard approach will lead to a disjointed result and potential cost overruns. The following table presents two potential allocation models based on different homeowner priorities: one focused on a cosmetic refresh and another on a functional upgrade.
Table 1: Sample Budget Allocation Models
| Component | Model A: The Cosmetic Overhaul | Model B: The Functional Upgrade |
|---|---|---|
| Cabinetry (Refresh vs. Replace) | $4,000 (New doors, painting, hardware) | $7,000 (Semi-custom stock cabinets) |
| Countertops | $3,500 (Quartz or solid surface) | $2,500 (Butcherblock or high-end laminate) |
| Appliances | $1,500 (Keep existing or buy open-box) | $4,000 (Mid-range appliance suite) |
| Backsplash & Wall Treatment | $1,500 (Tile and paint) | $500 (DIY peel-and-stick or paint) |
| Flooring | $2,000 (Luxury Vinyl Plank or refinish existing) | $1,000 (Sheet vinyl or laminate) |
| Lighting & Electrical | $1,500 (New fixtures, under-cabinet lighting) | $0 (Work with existing) |
| Plumbing (Faucet/Sink) | $1,000 (New sink and premium faucet) | $0 (Keep existing) |
| Contingency (10%) | $1,500 | $1,500 |
| Total | $15,000 | $15,000 |
These models are illustrative, not prescriptive. They demonstrate the necessary trade-offs. Model A sacrifices new appliances and a cabinet replacement to achieve a high-visibility impact with new surfaces and lighting. Model B prioritizes the core functional elements—new cabinets and appliances—while skimping on the ancillary details. Your personal allocation will depend on the findings of your pre-renovation audit and your own hierarchy of needs.
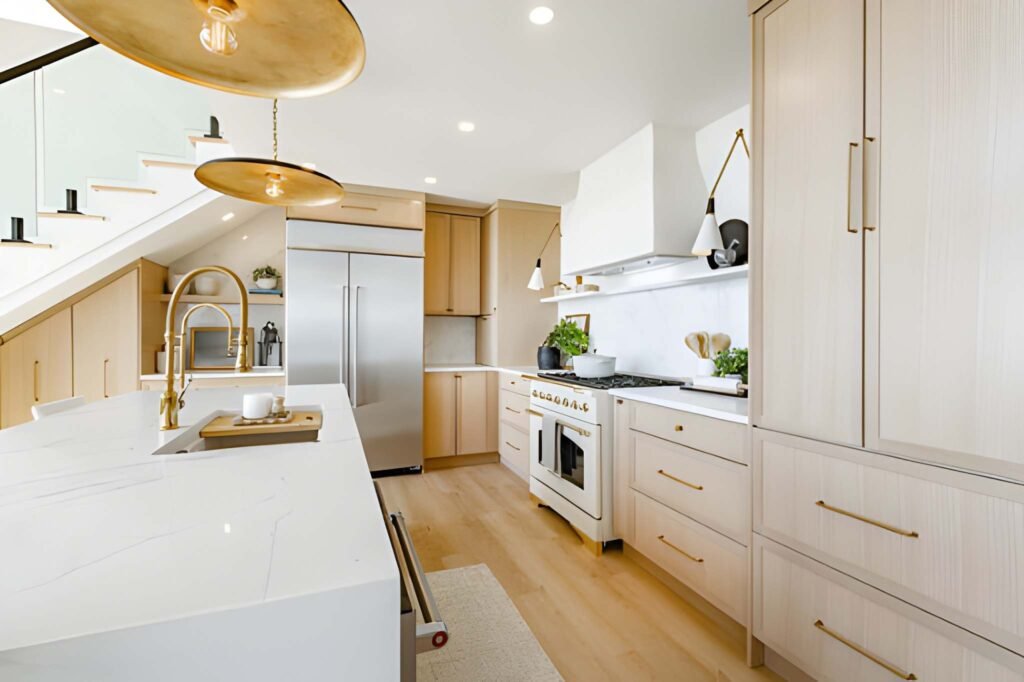
The Cabinet Conundrum: To Replace, Reface, or Refresh?
Cabinetry often consumes the largest visual real estate in a kitchen and represents the single largest cost. Your approach here will define your budget.
Full Replacement: This is the most expensive option and is often out of reach for a $15,000 budget if you also need countertops and appliances. However, if your audit reveals poor layout or damaged boxes, and you choose a Model B approach, it can be feasible. Focus on stock or semi-custom cabinets from companies like Ikea, Home Depot, or Lowe’s. These are flat-packed and often require self-assembly or a handyman for installation, saving significant labor costs. The key is to select a simple, timeless door style.
Refacing: This process involves replacing the cabinet doors and drawer fronts while covering the exposed frames with a matching veneer or laminate. It costs roughly 50-70% of a full replacement. The result can be excellent, but only if your existing cabinet boxes are in perfect structural and alignment condition. If your drawers stick or your shelves are warped, refacing will only give you beautiful doors on a dysfunctional foundation.
Painting or Restaining: This is the budget champion. For a fraction of the cost of replacement, you can completely transform the look of your kitchen. This is almost always a DIY or handyman-level project, not one for a high-end painting contractor. The process is labor-intensive and unforgiving. It involves a deep clean, degreasing, sanding, priming (with a high-adhesion primer like Shellac-based BIN), and applying multiple thin coats of a durable paint (e.g., Benjamin Moore Advance or Sherwin-Williams Emerald Urethane Trim Enamel). The reward for this sweat equity is massive. Pair freshly painted cabinets with new hardware (pulls and knobs)—a upgrade that offers an incredible return on a minimal investment.
Countertops: The Surface of Compromise and Character
The countertop is your kitchen’s workbench and a primary design statement. The choice here is a direct negotiation between aesthetics, durability, and cost.
Quartz: Engineered stone has become the default choice for many renovations. It offers excellent durability, stain resistance, and a wide array of patterns. For a $15,000 budget, you can likely afford a quartz countertop if you have a small to medium-sized kitchen and have saved elsewhere. Shop for remnants or promotions at local fabricators.
Butcher Block: Wood countertops provide warmth and character at a compelling price point. They are susceptible to cuts and stains and require regular oiling, but they can be sanded and refinished. Butcher block is a fantastic choice for a budget-conscious homeowner who values a warm, organic aesthetic and is not afraid of maintenance.
Laminate: Do not dismiss modern laminate. It is no longer your grandmother’s patterned plastic. Companies like Formica and Wilsonart produce convincing reproductions of marble, granite, and concrete. The cost is a fraction of stone, and installation is straightforward. The downsides are susceptibility to burns and scratches, and the visible seams. For a rental property or a budget-focused refresh, high-quality laminate is a smart, pragmatic solution.
Solid Surface: Brands like Corian offer a seamless, non-porous surface at a mid-range price. It is softer than quartz and can be scratched, but those scratches can be sanded out. Its ability to have integrated sink bowls creates a clean, modern look.
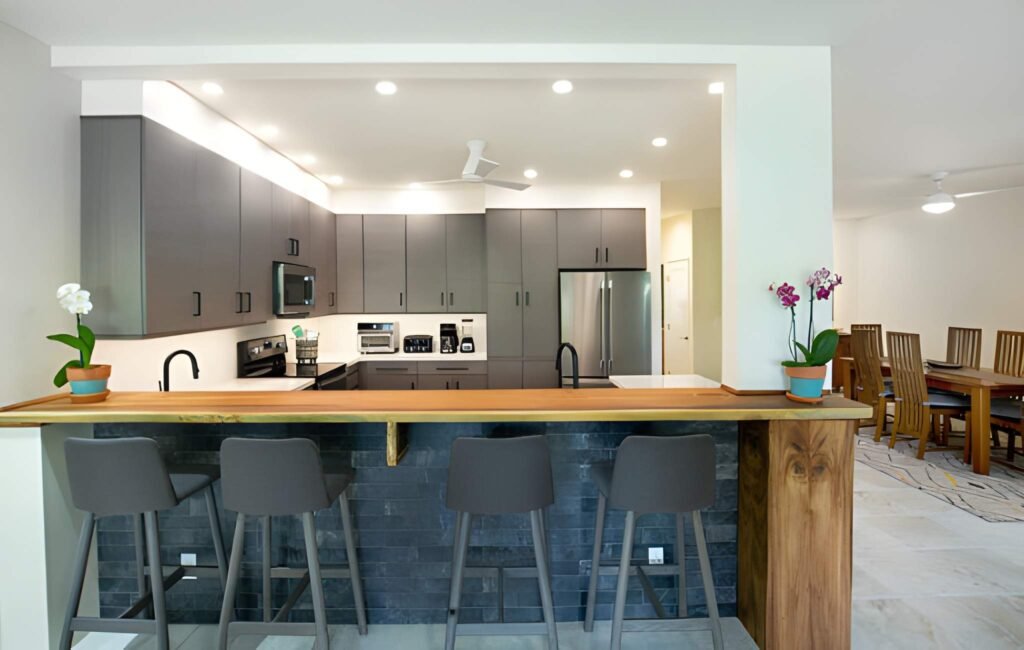
The Appliance Equation: Balancing Performance and Price
The siren song of a matching suite of stainless steel appliances is powerful. Within a $15,000 budget, you must resist the urge to buy top-tier brands.
The Keep/Replace Decision: If your existing appliances are functional, consider keeping them. This can free up thousands of dollars for other upgrades. A white refrigerator can be paneled or even painted with appliance-specific paint for a more integrated look.
The Mix-and-Match Strategy: You do not need a perfectly matched suite from a single brand. Focus on the appliance that matters most to you. Perhaps you splurge on a high-performance gas range but save on a basic, no-frills dishwasher and a budget-friendly refrigerator. Look for “open-box” specials, scratch-and-dent models (often with imperfections on the sides or back, which are never visible), or previous-year models at outlets.
The “Good-Enough” Tier: Brands like Whirlpool, GE, and Frigidaire offer reliable, well-performing appliances at accessible price points. They may lack the smart features or premium finishes of a Sub-Zero or Wolf, but they will perform their core functions admirably for years. This is the sweet spot for a mid-budget renovation.
Lighting: The Inexpensive Magic Trick
Lighting is the most cost-effective way to alter the mood and function of your kitchen. A well-lit space feels larger, cleaner, and more inviting.
Layer Your Light: Eliminate the single, harsh overhead fixture. Create a layered plan:
- Ambient Light: This is the general illumination. Recessed LED downlights (“can lights”) are the modern standard. They are energy-efficient, long-lasting, and provide clean, widespread light.
- Task Light: Under-cabinet lighting is non-negotiable for a functional kitchen. It illuminates countertop workspaces, banishing shadows. LED tape lights are inexpensive, easy to install, and provide a continuous, bright light.
- Accent Light: A pendant light over a sink or an island adds personality and style. This is where you can make a design statement without a major investment.
Switching from incandescent or CFL bulbs to LED technology is a must. The energy savings will pay for the upgrade over time, and the quality of light from modern LEDs is excellent.
The DIY Calculus: Where to Save, Where to Splurge
Your willingness to contribute labor can stretch your $15,000 budget significantly. However, a poor DIY job can devalue your home and cost more to fix.
High-ROI DIY Projects:
- Painting: Walls, ceilings, and even cabinets.
- Demolition: Tearing out old backsplashes, flooring, and cabinets.
- Installing a Backsplash: Using peel-and-stick tiles or standard ceramic subway tile with a little practice.
- Hardware Installation: Swapping out cabinet pulls and knobs.
- Fixture Installation: Replacing a light fixture or faucet (with the power/water shut off, of course).
- Flooring: Click-lock luxury vinyl plank (LVP) or laminate is designed for DIY installation.
Areas to Hire a Professional:
- Any Electrical Work beyond a simple fixture swap (e.g., running new wires, adding circuits).
- Any Plumbing Work beyond a faucet installation (e.g., moving gas lines, relocating drains).
- Countertop Templating and Installation. The risk of a costly mistake is too high.
- Complex Cabinet Installation. If you are not highly skilled, misaligned cabinets will haunt you forever.
A Phased Approach: The Renovation Roadmap
If your $15,000 feels too tight to accomplish everything at once, consider a phased plan. This spreads the cost over time and allows you to save for higher-quality materials in later phases.
Phase 1: The Cosmetic Lift (Months 1-3, ~$5,000)
- Paint walls, ceiling, and cabinets.
- Install new cabinet hardware.
- Replace light fixtures and install under-cabinet lighting.
- This phase alone will make the kitchen feel 80% new.
Phase 2: The Surface Upgrade (Months 4-12, ~$6,000)
- Save for and install new countertops.
- Install a new tile backsplash.
- Replace the sink and faucet.
Phase 3: The Functional Investment (Year 2, ~$4,000+)
- Save for and purchase new appliances.
- Replace flooring if necessary.
This methodical approach reduces financial pressure and allows you to live with the changes, ensuring your subsequent decisions are well-considered.
Conclusion: The Art of the Possible
A $15,000 kitchen renovation is not a story of limitation, but one of focus and intelligence. It demands that you see the potential in what you have and make strategic choices that align with your life and budget. By conducting a thorough audit, allocating your funds with purpose, embracing the power of paint and lighting, and knowing when to hire a professional, you can orchestrate a transformation that is both profound and practical. The result will not be a page from a luxury magazine, but something more valuable: a kitchen that is truly, authentically yours—a refreshed, functional, and beautiful heart for your home, achieved without financial recklessness. It is the American Dream, recalibrated for a new era of value and sensibility.