Interior Staircase Repair: Structural Stabilization and Safety Upgrade
A short, six-step interior staircase presents a concentrated safety and aesthetic risk profile. Unlike minor wall damage, loose treads, squeaks, or a wobbly railing are structural liabilities that can void insurance claims, significantly depress appraisal values, and create immediate hazard. Prompt repair transforms a hidden liability into a preserved architectural asset, especially in homes built before 1950 where staircase construction relied on heavy, often antique, timber.
The repair process is divided into structural stabilization (addressing squeaks and wobble from the *inside*) and aesthetic refinishing (addressing surface wear). Before commencing any work, it is non-negotiable to identify the precise source of the failure: Is the squeak caused by tread separation from the riser, or is the entire stair carriage (stringer) failing? Proper diagnosis prevents cosmetic patching of a fundamental structural problem.
Phase 1: Structural Diagnosis and Problem Identification
Select the primary issue affecting your staircase. The solution varies dramatically depending on whether the problem is load-bearing stability or sound generation.
1. Persistent Squeaking
Sound under load
Caused by friction between moving wood surfaces (tread/riser separation).
2. Railing Instability
Newel Post or Baluster Wobbly
Caused by poor anchoring or structural fatigue at the base post.
3. Cosmetic/Component Failure
Tread or Riser Loose/Damaged
Needs readhesion/replacement (often due to dryness or age).
Phase 2: Structural Stabilization Roadmap
Squeaking Fix: Addressing Tread Separation
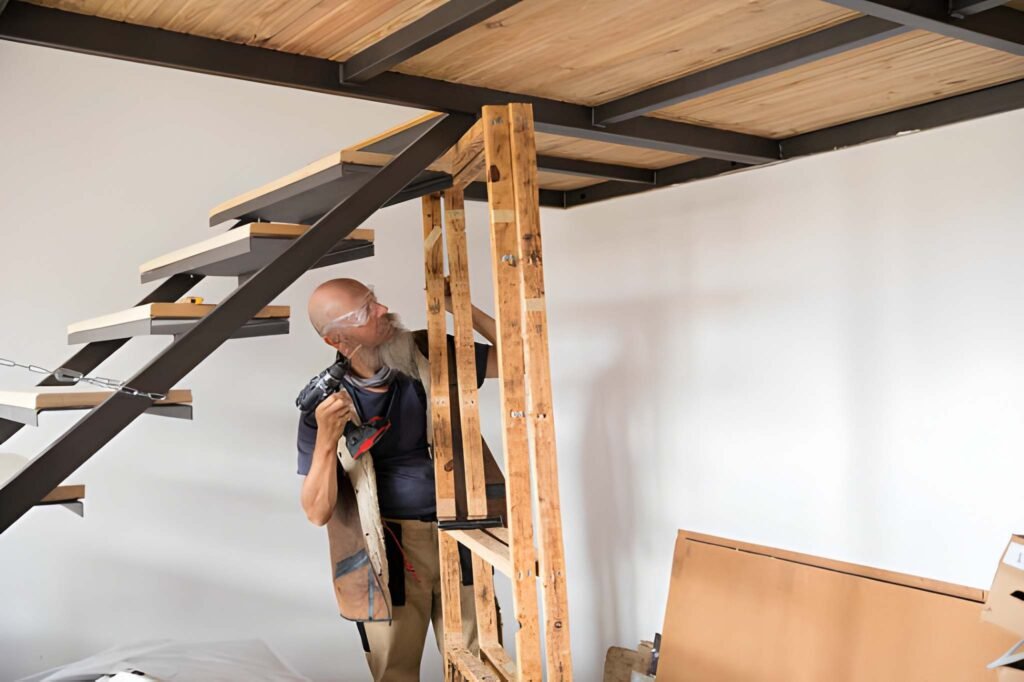
The most effective fix for squeaks is to eliminate the slight gaps between the tread and the riser or the stringer. This is best done by applying pressure from the underside of the stairs, assuming the underside is accessible.
Detailed Procedure:
- Step 1 (Shimming): From underneath, insert thin wood shims (pre-glued) into the wedge-shaped gap between the tread and the top edge of the riser until the gap is tight. Do not hammer forcefully; light pressure is sufficient.
- Step 2 (Blocking): Cut 2x4 blocking and install it vertically between the underside of the noisy tread and the top of the next lower riser. Secure the block using construction adhesive and structural screws to both surfaces. This provides continuous, rigid support.
- Step 3 (Screwing): Secure the rear edge of the tread directly into the stringer using long (2.5-3 inch) structural screws, ensuring they are driven at a slight angle for maximum grip.
Phase 3: Aesthetic Refinishing and Material Selection
Once structural stability is ensured, the focus shifts to preserving the aesthetic integrity of the wood elements and addressing surface damage. Proper material selection is crucial for blending repairs with the antique wood grain of the 1908 construction.
Aesthetic Damage Repair Comparison
Scratches, gouges, and minor chips require specialized fillers that accept stain or paint. Use the table below to select the appropriate material based on the damage depth and location.
| Damage Depth | Recommended Material | Durability & Notes |
|---|---|---|
| **Hairline/Surface** (Scratches) | Colored Wood Putty / Wax Sticks | Lowest durability. Best for quick touch-ups on stained surfaces; non-structural. |
| **Medium** (Gouges < 1/4 inch) | Dye-Matched Wood Filler (Water-based) | Moderate durability. Shrinks less than oil-based; accepts light sanding and paint. |
| **Deep/Edge** (Chips > 1/4 inch) | Two-Part Epoxy Wood Patch (Colored) | Highest durability. Required for filling large voids or repairing chipped edges of treads; fully structural once cured. |
Safety and Fire Code Compliance
Staircases are governed by strict safety codes. For a 6-step run, ensuring proper illumination and traction is vital. Consider adding a slip-resistant coating or a low-profile runner after refinishing. If the balusters or railing height fall below modern code minimums (typically 34-36 inches), a professional should assess the feasibility of raising the rail or adding compliant elements to prevent liability issues. An appraiser will flag non-compliant stairs as a necessary repair or safety concern, directly impacting value.
Phase 4: Real Estate Liability and Return on Investment (ROI)
In the eyes of a real estate appraiser and a prospective buyer, staircase stability is not cosmetic maintenance—it is a functional necessity tied directly to property risk. An unstable staircase signals deferred structural maintenance throughout the entire home.
Appraisal and Mortgage Approval Impact
For FHA or VA loans, a severely wobbly railing or a loose newel post will be flagged as a **Health and Safety Issue**. This requires immediate professional repair before the loan can close. These are not negotiable repairs; they are mandatory conditions for transfer of title via government-backed financing. Proactively repairing a loose railing is an investment that ensures marketability to the widest pool of buyers.
Long-Term Value Preservation (The Cost of Replacement)
The cost of stabilization (screws, blocks, lag bolts, epoxy) is typically minimal—often under $500 for a 6-step run. The cost of full staircase replacement, however, involving custom stringers and antique-style woodwork, easily exceeds $8,000 to $15,000, depending on the material and footprint. Repairing the original structure ensures the home retains its historic charm, which often commands a premium in the market, while avoiding the massive capital expenditure of a full replacement. **The ROI on stabilization and cosmetic refinishing is exceptionally high.**
Furthermore, neglecting a loose railing introduces extreme personal liability. If a visitor or future resident falls, the homeowner faces legal scrutiny regarding documented negligence in maintaining a known safety hazard. Stabilizing the stairs is an act of risk mitigation as much as it is a home improvement project.


